


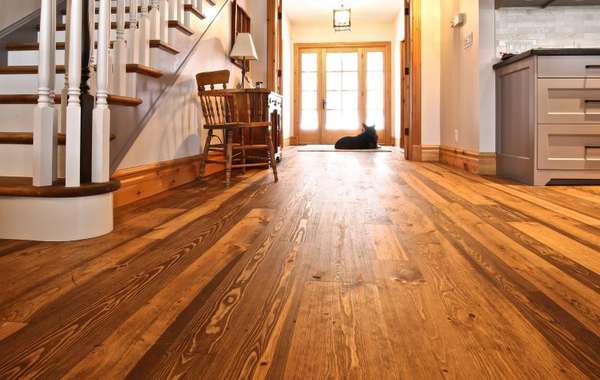
Sanding wood floors & refinishing yourself will definitely save money, and even an inexperienced homeowner can likely do a better job than the lowest bidding handyperson who quotes on it. Once you understand the basics, a quality final result on your wood floor is more about patience than anything else.
Ultimately though, once any ridges between boards are removed so you won't trip, it's all about aesthetics. Upon completion your floor will be a work of art to show off and be proud of, then your kids or your dog will come in and it will just be a wood floor again, something that you mop or vacuum once a week.
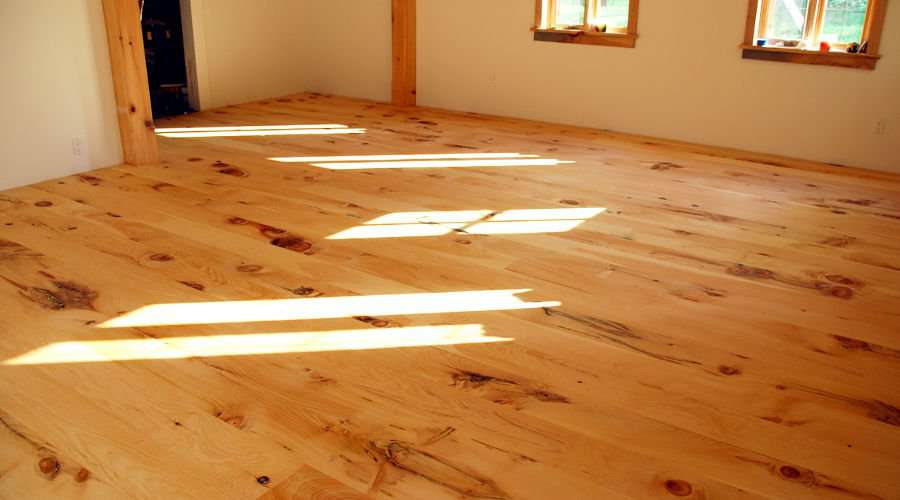
Floor preparation, the first step to the perfect wood floor
Before attempting the refinishing of a wood floor, know what you're tackling first.Is your floor old floorboards that have been covered with carpet? Are they good enough for sanding and finishing? Are you sure? Did you pull all the gripper rods off first that held the carpet in place - because sometimes they use no-nails AND nails, and that makes a mess as the planks often split when you try to get them off. There's little worse than slaving over the perfect finish to your wood floor only to be hobbling around very shortly after when you scuff the floor with your bare foot one evening after a couple of pints and drive a splinter under a toenail.
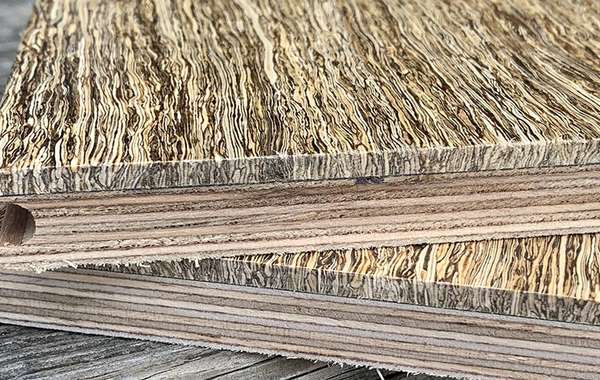
Is the floor a solid or engineered hardwood? Some engineered floors can be sanded and refinished but not all - generally speaking it needs a few thou of laminate before you should consider sanding and refinishing, maybe try a hidden area first, like inside the bottom of a closet. If the floor is a solid hardwood planks, congratulations, you should be good to go. But, one word of caution because I've seen someone try it, make sure your floor isn't a very realistic laminate before renting a sander for the weekend... that absolutely doesn't work.
在所有这些之后,把地板上的所有东西都清理干净,然后用微湿的抹布擦干净,等干了之后,再用吸尘器吸干净,尤其是边缘的部分。禁止所有人进入房间,因为最糟糕的事情是在你的砂垫、砂盘或砂带里卡上一大块砂砾,在你本应美化的珍贵木地板上弄出一个巨大的凹痕。
Then, get down on hands and knees, and if it's an old planked floor, very carefully run your hand over the entire floor to check for protruding nail heads or bits of grit stuck in the joints.
Once you're convinced that your floor is suitable, that it's immaculately clean, and when you have nothing better to do on the weekend, it's time to decide what kind of sander to rent. But first, think safety!
Before even starting to sand the floor, safety first!
All these sanders are going to produce dust, and you're going to be using noisy machines-所以保护耳朵是必须的。碎片的可能性很大,所以戴手套也是个好主意。建议保护眼睛,一个合适的口罩是必不可少的,除非你喜欢用旧的有毒清漆和胡椒味的木屑堵塞鼻窦,根据硬木的类型,这些木屑的毒性也很大。
当你这样做的时候,你还不如带上几件一次性的一体机,就像《犯罪现场调查》(CSI)里的一体机一样,在地板都准备好之后,再穿上拉靴,以确保你不会把什么东西拖出花园。一旦你穿上了这些,你会觉得太热了,而且/或者自然会叫你——所以你可能会在没有保护的情况下做这份工作,并在患上鼻窦炎后遭受数周的痛苦。它并不大,忽视安全警告是不明智的——现在你不能说我没有警告你……所以这是你的责任!
Floor sanding machines, what are the choices?
Buffer sanders work in a circular motion, it's the same machine that is often used to polish and clean industrial and commercial floors. If you've used one in any other application you could give it a try, but sanding floors might not be the best place to learn. They have a very sensitive balance and will take off across the floor spinning wildly and wrapping the cable around your legs as they go if you don't yet have the magic touch. And if you even have to ask "do I?" - you don't.
If you decide you are brave enough anyhow, (really?) you will need to buy several different grits of paper and some cushioning pads. These are available at the rental counter, someone there can likely help you determine how many of each you will need based on the square footage of your job, but buy a few extra as they can usually go back. This is a common practice, and you will be going back to return the machine anyway so there is no inconvenience or wasted trip - better to have too many pads than not enough - and catching just one proud nail in an old floorboard you didn't notice before very quickly rips up a pad - which goes straight into the bin.
The pad acts essentially as a shock absorber, giving the sander a smooth ride and ensuring even removal of material. After a while (a couple of hours or so) the pad will become compressed and worn out and need to be replaced.
Installing paper and pads is quite easy. The paper sticks to the pad, you then just drop it on the floor (yes that's right, paper side down) then sit the sander on the pad which will stay simply due to friction and the weight of the machine.
旧的砂垫可以被切割,并重新利用为优秀的地板洗涤器。
Square vibrating sanders are the easiest to use and the hardest to screw up with.You can rent one at most major home building stores, and like with buffers, you'll need to purchase pads and paper. This is really you're best option if you haven't sanded floors before, but here's hoping it's just a powder room floor - seriously, it needs to be small for this option to work.
两个缓冲区和方桑德斯将相当接近墙壁,但你也需要一个小的轨道手磨砂机来做周围的边缘。对于新地板,请记住你的踢脚板可能会覆盖距离墙1/2到3/4英寸的地方。
For using a buffer or square sander, the process is the same. You start with a really rough paper that will smooth out any ridges between boards and give you a uniform surface. From there each different grit of paper is designed to remove the ridges from the paper before so don't worry if the first pass leaves all swirly lines everywhere, they'll progressively disappear.
Papers will go in sequence starting at 36 or 40, then to 60 grit, 80 grit, 100 grit, and 120 grit. You can go up to 180 or 220, but before you do that, I'd think about hand sanding 2 sample pieces and putting some oil on. If you can really tell the difference between a 120 and 180 then go for it. I'd do it for a paying client simply because there will be an initial nose to the floor inspection, but for my own floors I stop at 120.
Drum sanders - oh boy, this is where things get a little different, and the stakes gorightup. If sanding a floor for the first time was like learning to drive, choosing a drum sander would be like choosing a stick shift instead of an automatic. With lots of hill starts. Blindfolded and with Metallica blasting on volume 12.
Drum sanders have a rotating belt, and do a quick and relatively clean job in experienced hands. But they can be quite tricky to learn, and have a lot more potential for causing damage if you do it wrong. Like huge furrows, everywhere. Nightmare! If this is the machine you choose, make sure you start out in a place that won't be highly visible. Like the dark side of the moon.
滚筒桑德斯有两种类型;尖端砂光机和杠杆砂光机,两者都与砂纸带操作。在这两种设备中,你最可能遇到的是磨尖机,因为相对来说,这两种设备更容易学习和使用。他们有两个轮子,你倾斜机器回到改变方向,而水平砂光机机械升降滚筒。
It's important to start the machine with the paper OFF the floor. Once you tilt it down and the sandpaper touches the wood, it will instantly start pulling you.This forces the operator to switch actions from pushing to pulling - usually eyes popping as you strain every muscle in your arms tring to stop it hurtling across the floor and through the wall opposite. These things are brutal, and pull your arms out of their sockets.
For all types of sanders (especially drum sanders), if you're hoping for any kind of a decent finish to your wood floor it's important to keep the machine moving. If you stick around in one spot you will start to dig yourself a bit of a hole (literally) that will be hard to fix with the next grit. Very, very hard if it's a laminate and you grind right through it!
Techniques for sanding wood floors
Firstly, go with the grain, alwyas, secondly after ever stage, do a quick look around to see that you've got all the scratches from the pass before. Once you've done a 120 grit pass, for a really smooth surface you can wet it (that brings up all the fibers) then wait for it to dry and do a quick pass with a 120 screen. The golden rule is that if you can see marks, swirls and scratches, keep going, move a grade finer, keep going again. Because if you can see it before it's finished, it will look ten times worse after...
Skipping a step might seem like a time and material saver, but it isn't. If you go from 60 to 100 grit and don't do 80, you will spend a long time trying to wear down ridges with a paper that is just too fine for the job and often clogs before it cuts the surface.
实际上,你唯一可以跳过的步骤就是你选择的初始论文。如果新安装的地板相当均匀,你可以从60开始。你在一个楼层上花费的时间主要取决于它的安装情况,以及你第一次使用它所花费的时间。
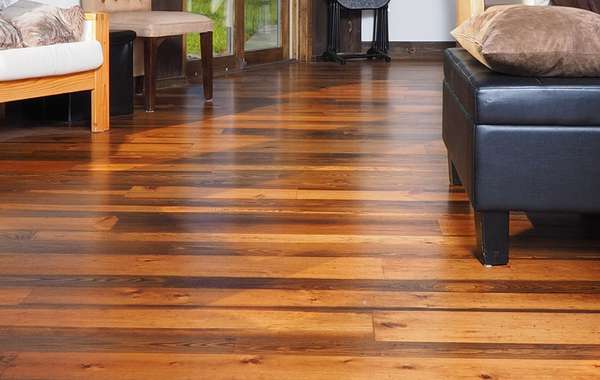
有一件事会暴露出偷工减料,那就是如果你选择把地板弄脏。地板污渍会让任何划痕和瑕疵更明显。
And as I said, be sure to wear proper protection from breathing dust particles, especially if you are repairing old floors with a finish on them. Small paper masks protect you a little, but not much. Despite being a sweaty pain to wear in hot weather, wearing a respirator is a really smart idea to protect your lungs.
Be ready with a broom and dust pan, and ideally a shop vac. Be sure to use vacuum attachements with soft bristles, hard plasic can leave lines across the floor. Also, if you vacuum with the grain, there is less chance of leaving any visible marks. Get as much of the dust off as possible, if your floor is nailed planks make sure any nail heads are under the surface (as otherwise they tend to rust over time and leave stains.
So, the floor is sanded and clean, the weekend is over, your arms and back throb and ache, and you're half deaf, but hey - at the very least you now have a fun dinner party story to share and you'llreallyappreciate the professional you pay to do it next time!


Did you use Rubio Monocoat's pure clear oil finish or a tint? If a tint, which one? Did the color change over time?
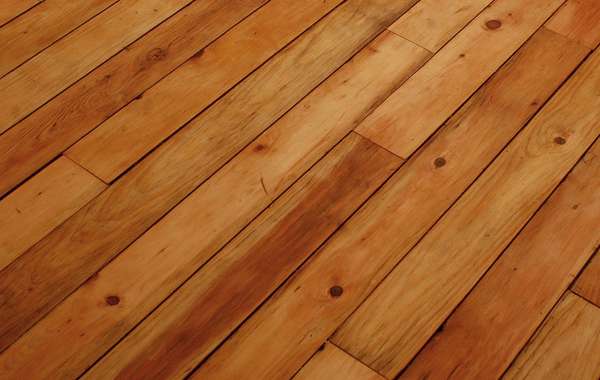
I used the "Oil Plus 2C Pure" which is the clearest offering. On application a slight golden tinge resulted, but not very strong. The floor I did was pine and i liked the slight colour shift as I did not use the UV block product so that I could enjoy a more natural aging.
Hello again, Your floor looks less matte than ours (we also used the 2C but with a mix of 2 parts pine and part cherry). Do yo buff it again after it was dry to give more sheen or use anything else? Thx.
I checked with him they did not buff it.
就像宫城先生一样,用蜡擦。
You could certainly check with the manufacturer for other concerns, I've spoken to them a few times and they are quite helpful. I was so impressed with what I saw I used it on my new office floor which is 90 year old reclaimed pine and it looks amazing.
When I ordered it from the dealer, they told me you only need a single coat, but that I might as well do a second one. This turns out to be false, since it seals the wood on a molecular level, the wood will reject any additional oil. There is a second product available called 'refresh' for going over high traffic areas and damage.
We plan to do a product piece on this, so please drop us a line at[email protected]net and let us know how it turns out. It's not a common product in Canada, and we'd like to include more first hand experience.
为了像餐桌一样光滑的表面,我应该把它磨成什么样?
Hi Stathis,
If you are building a new table you would probably want to start with a 100 grit then move to a 150 and finally a 220, but if you are repairing an older table and have to remove varnish or paint first, then you might want something even more coarse than a 100 to start with. And what sort of a sander are you using? A belt sander will remove material quicker, but there is a greater risk that you will damage it by causing grooves. I would propose an orbital for at least the final pass if not the entire job.
If you are not an experienced woodworker and don't have the tools already, this is a cheap way to get started on a DIY project and end up with a new finish on a table. The purchase cost of an orbital sander, paper and finishing material would for sure be less than hiring someone to do it; it's also fun, and you end up with a new power tool as well for your coffee table!
关于木地板准备的好文章。在阅读这篇文章之前,我没有关于砂光工艺的知识。我最近买了房子,我想对硬木地板进行适当的装修。非常感谢。
这是一篇了解木地板整理工艺的好文章。我必须在我的卧室里安装硬木地板,这比我想象的要贵,所以这个信息会帮助我很多。